eepp - Entropia Engine++
eepp is an open source cross-platform game and application development framework heavily focused on the development of rich graphical user interfaces.
Features
Cross platform functionality
Official support for Linux, Windows, macOS, FreeBSD, Haiku, Android and iOS.
Exports to HTML5 using emscripten with some minor limitations.
UI Module
Base widgets to manage the app/game objects as nodes, with all basic input interaction events ( clicks, keypress, mouser over, focus, etc ).
Fully featured UI system, animation support, scaling, rotating, clipping, events, messages, etc.
Themes and skins/decorations support.
Pixel density support ( scaling of UI elements defined by the pixel density of the screen ).
All the basic widgets are implemented ( button, textbox, combobox, inputbox, menu, listbox, scrollbars, etc ).
Draw invalidation support. It can be used to make real apps, with low resource usage ( only redraws when is needed ).
Layout system similar to Android layouts ( LinearLayout, RelativeLayout, GridLayout ).
Advanced features as text selection, copy and paste, and key bindings.
Load and style layouts from XMLs
Styling with Cascading Style Sheets
HTML+CSS compatibility layer (ongoing effort for native HTML content rendering):
Renders HTML documents natively using the
UIWebViewcomponent. Also used byUIMarkdownViewfor Markdown rendering.Full CSS layout system covering block, inline, inline-block, flex (Flexbox Level 1), inline-flex, grid, inline-grid, table, list-item, and none display modes.
Positioning: absolute, fixed, float, relative, and sticky.
Rich text formatting with inline text spans, line wrapping, custom blocks, floats, and baseline alignment.
CSS properties: backgrounds (color/image/layers), borders, box model (margin/padding), sizing constraints (min/max-width/height),
box-sizing, overflow,visibility,z-index, text styling (color, font, decoration, alignment), and more.Document-scoped stylesheets, CSS viewport/media queries, and scoped
@font-facefont resources.Spec-compliant where implemented. Follows the CSS and HTML Living Standard specifications rather than custom behavior.
Graphics Module
Renderers for OpenGL 2 ( fixed-pipeline ), OpenGL 3 ( programmable-pipeline ), OpenGL ES 2, OpenGL ES 1, and OpenGL Core Profile.
Batch Renderer ( all the rendering is automatically batched by the engine ).
Fonts support ( TrueType, BMFont and XNA Fonts ).
Frame Buffer support.
Shaders support ( with automatic fixed pipeline shaders to programmable conversor ).
Vertex Buffer Object support.
Particle System.
Extendable Console.
Animated Sprites.
Texture Atlas support ( automatic creation and update of the texture atlas, editor included ).
Clipping Masks ( stencil, scissors, planes )
Nine Patch resizable bitmaps support.
Primitives drawables.
Many image formats supported ( included rasterized SVG ), compressed textures support ( direct upload to the GPU when possible ).
Window Module
Backend based module, this means that you can easily create a backend for the window/input handling.
Currently supports SDL 2 as backend.
Clipboard support.
Hardware cursors.
Display Manager
Joystick support.
Audio Module
OpenAL audio engine with extendable file format support. Read and write support for OGG and Wav, and read support for MP3 and FLAC.
System Module
Provides all the basics stuffs for the full multi-threading support of the library, file formats support for packing, clocks, resource manager, translator, and much more.
Virtual File System class ( abstract assets providers into a single virtual file system, abstracting zip files and local file system into one for transparent load of resources, similar to PhysicsFS).
Core Module
Customizable Memory Manager. Used by default in debug mode to track memory leaks.
UTF8, UTF-16, UTF-32, Ansi, Wide Char support.
String class using UTF-32 chars internally.
Debug macros
Math Module
General purpose functions and templates ( vector, quad, polygon, etc ).
Interpolation classes with easing.
Some minor math utilities, include Mersenne Twister random number generator implementation, perlin noise and more.
Network Module
Web Requests with HTTP client, with TLS support ( provided by mbedtls or openssl ).
Asynchronous HTTP requests.
File Transfers with FTP client and FTPS client ( FTP with explicit TLS ).
TCP and UDP sockets.
HTTP Content-Encoding and Transfer-Encoding support.
HTTP Proxy Support.
HTTP Compressed response support.
Also HTTP resume/continue download support and automatic follow redirects.
Scene Module
Node based system for easy management of scenes.
Full control of node events ( clicks, mouse over, focus, etc ).
Event system.
Node Message system.
Programmable actions for nodes ( fade, rotate, move, scale, etc ).
Physics Module (optional)
Full OOP chipmunk physics wrapper.
Maps Module (optional)
Tiled Maps with software dynamic lights.
Full featured map editor.
Tools
Very simple UI Editor. Load layouts from an XML file and see the changes being made in real time.
Texture Atlas Editor. A very simple tool to allow the developer to create and edit texture atlases.
Map Editor: A advanced but simple map editor for the game engine. It lacks several features since I didn’t have the time to work on it, this particular tool will probably die in favor of TMX map support in the near future ( but i’m not a fan of TMX maps, so there’s no decision for the moment ).
General Features
Support for multi-threaded resource loading ( textures, sounds, fonts, etc ).
Documentation
Documentation is located here. I’m currently working on improving it. About 50% of the project is currently documented so still needs a lot of work. Please check the code examples located in src/examples and you can also check out the test (src/test) and tools (src/tools).
I’m putting my efforts on improving the documentation on the UI module since currently is the most important and complex module but lacks of proper documentation. If you have any question you can contact me anytime.
Getting the code
The repository uses git submodules so you’ll need to clone the repository and its submodules, in order to achieve this easily you can simply clone with:
git clone –recurse-submodules https://github.com/SpartanJ/eepp.git
UI Screenshots
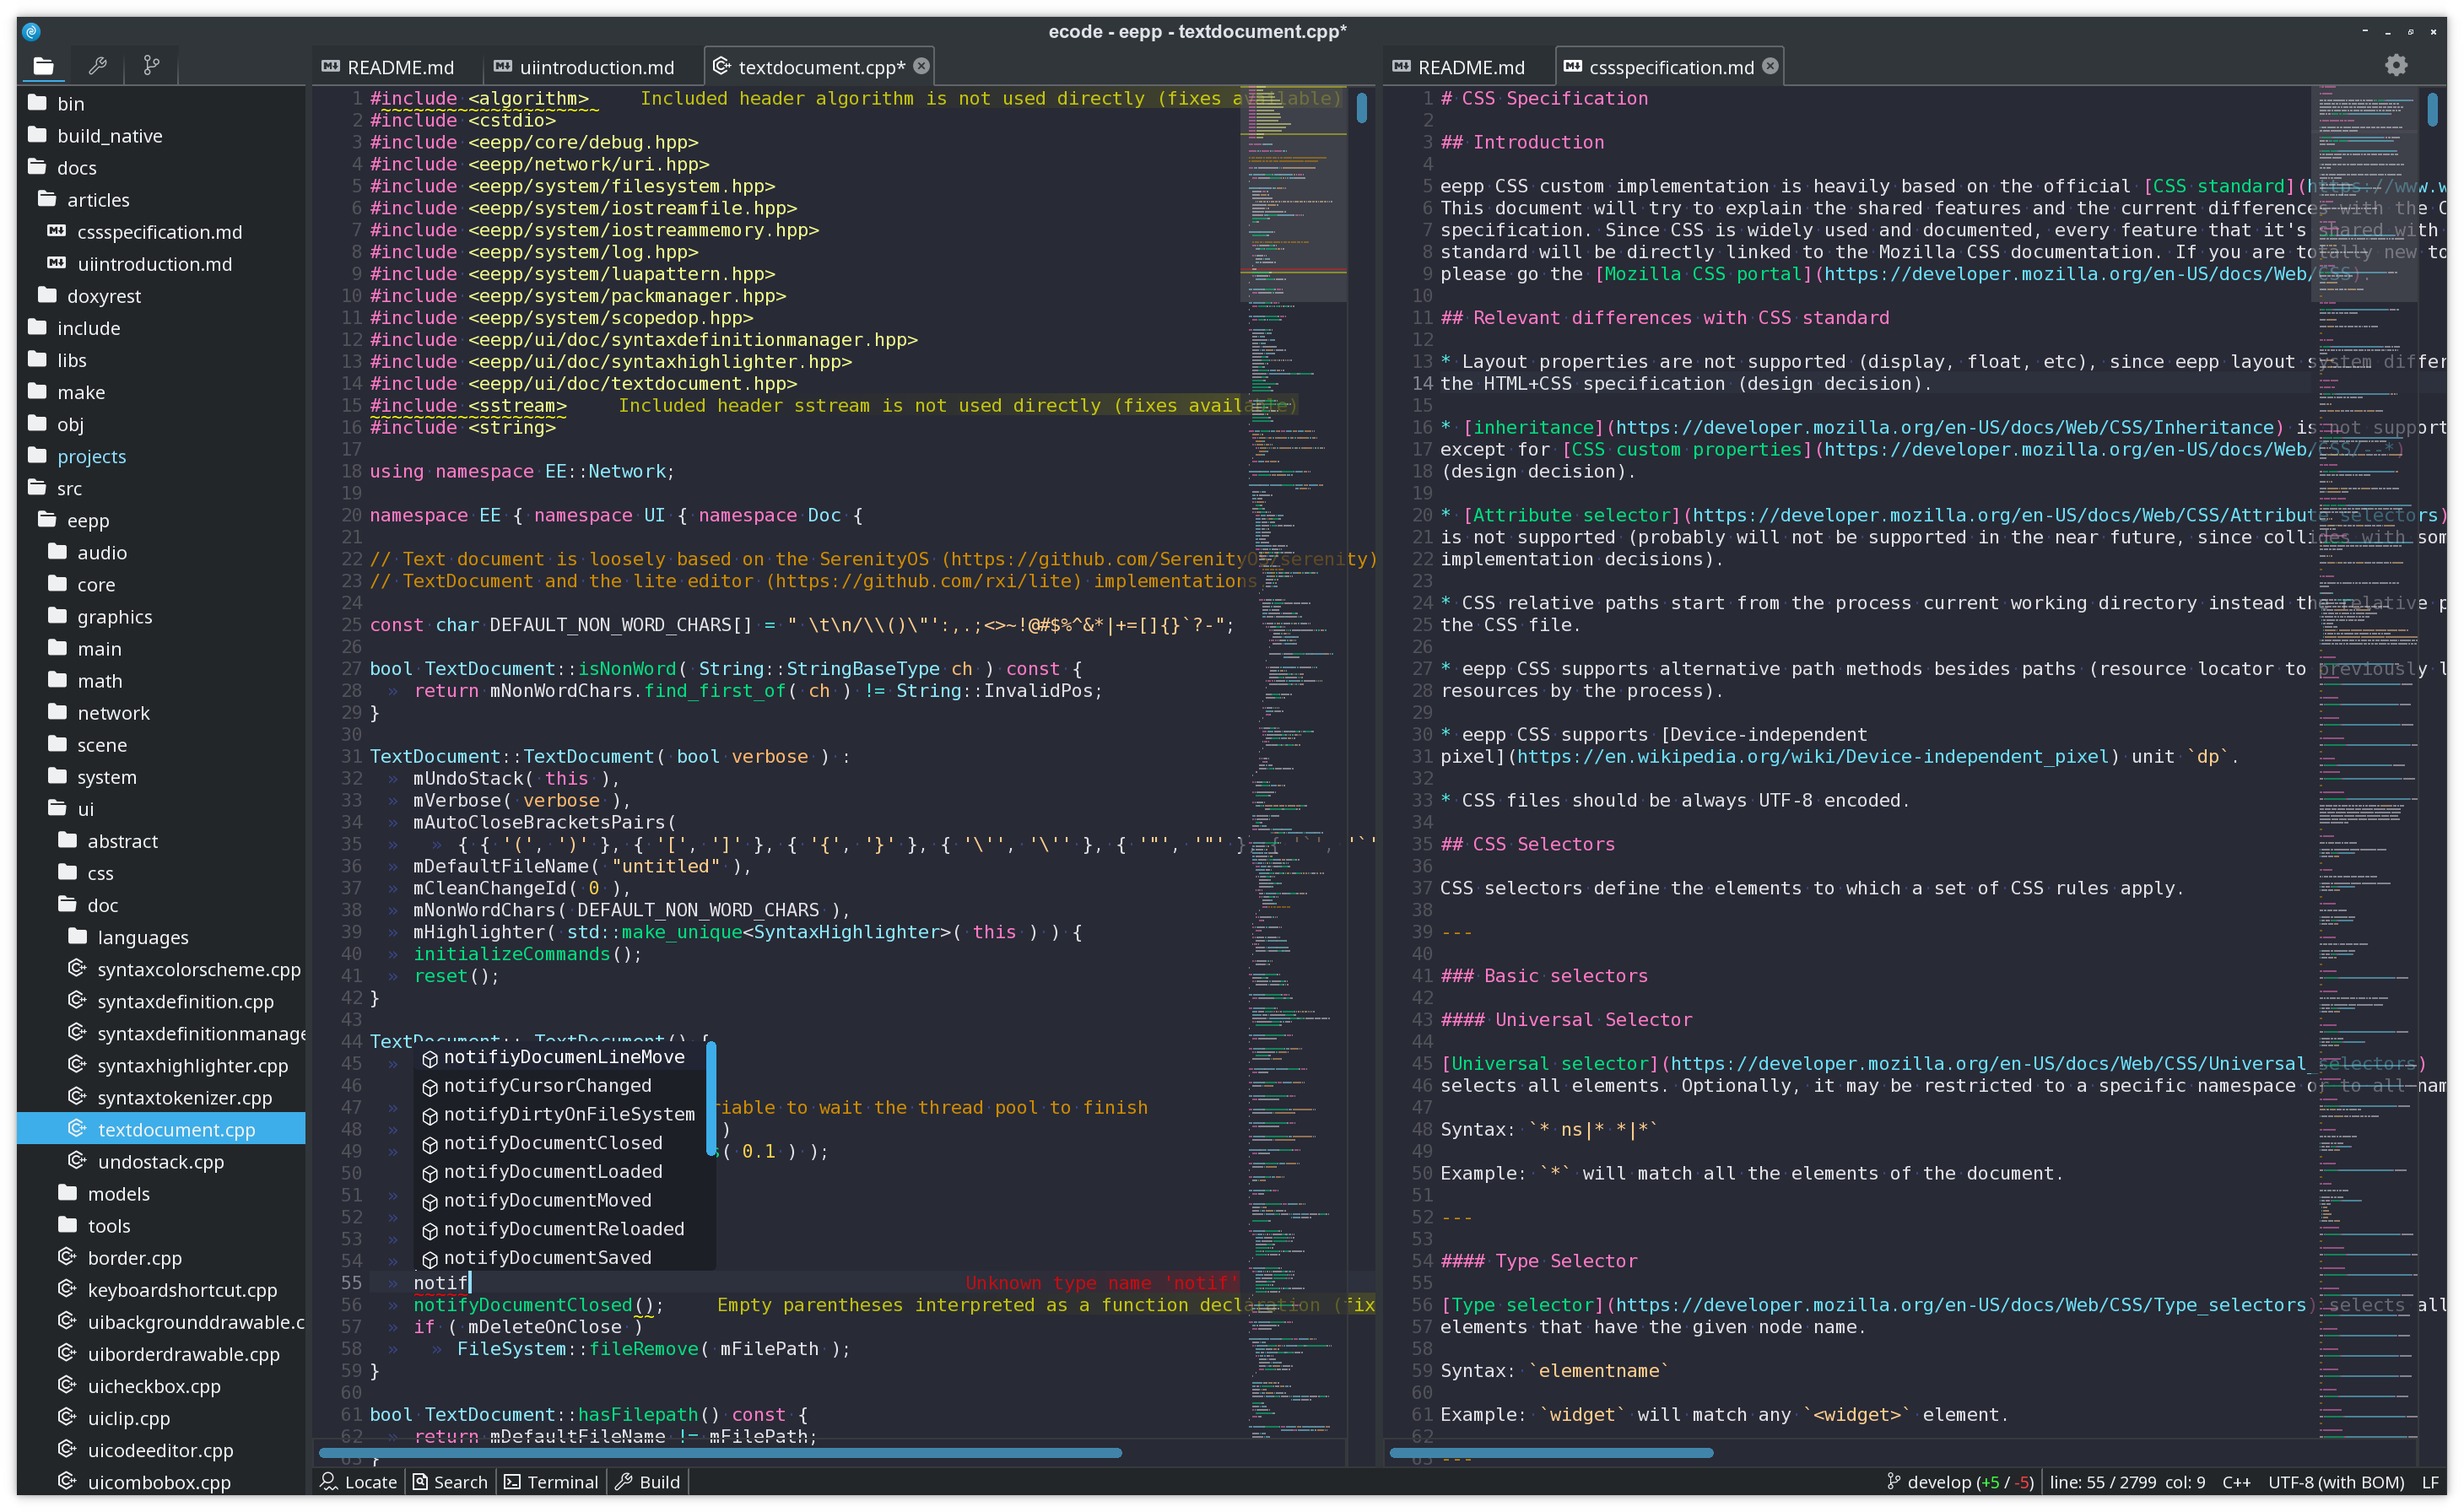
ecode - Code Editor
ecode is a code editor inspired in lite. It’s using the newest pure CSS theme based on the default Plasma dark theme: Breeze Dark.
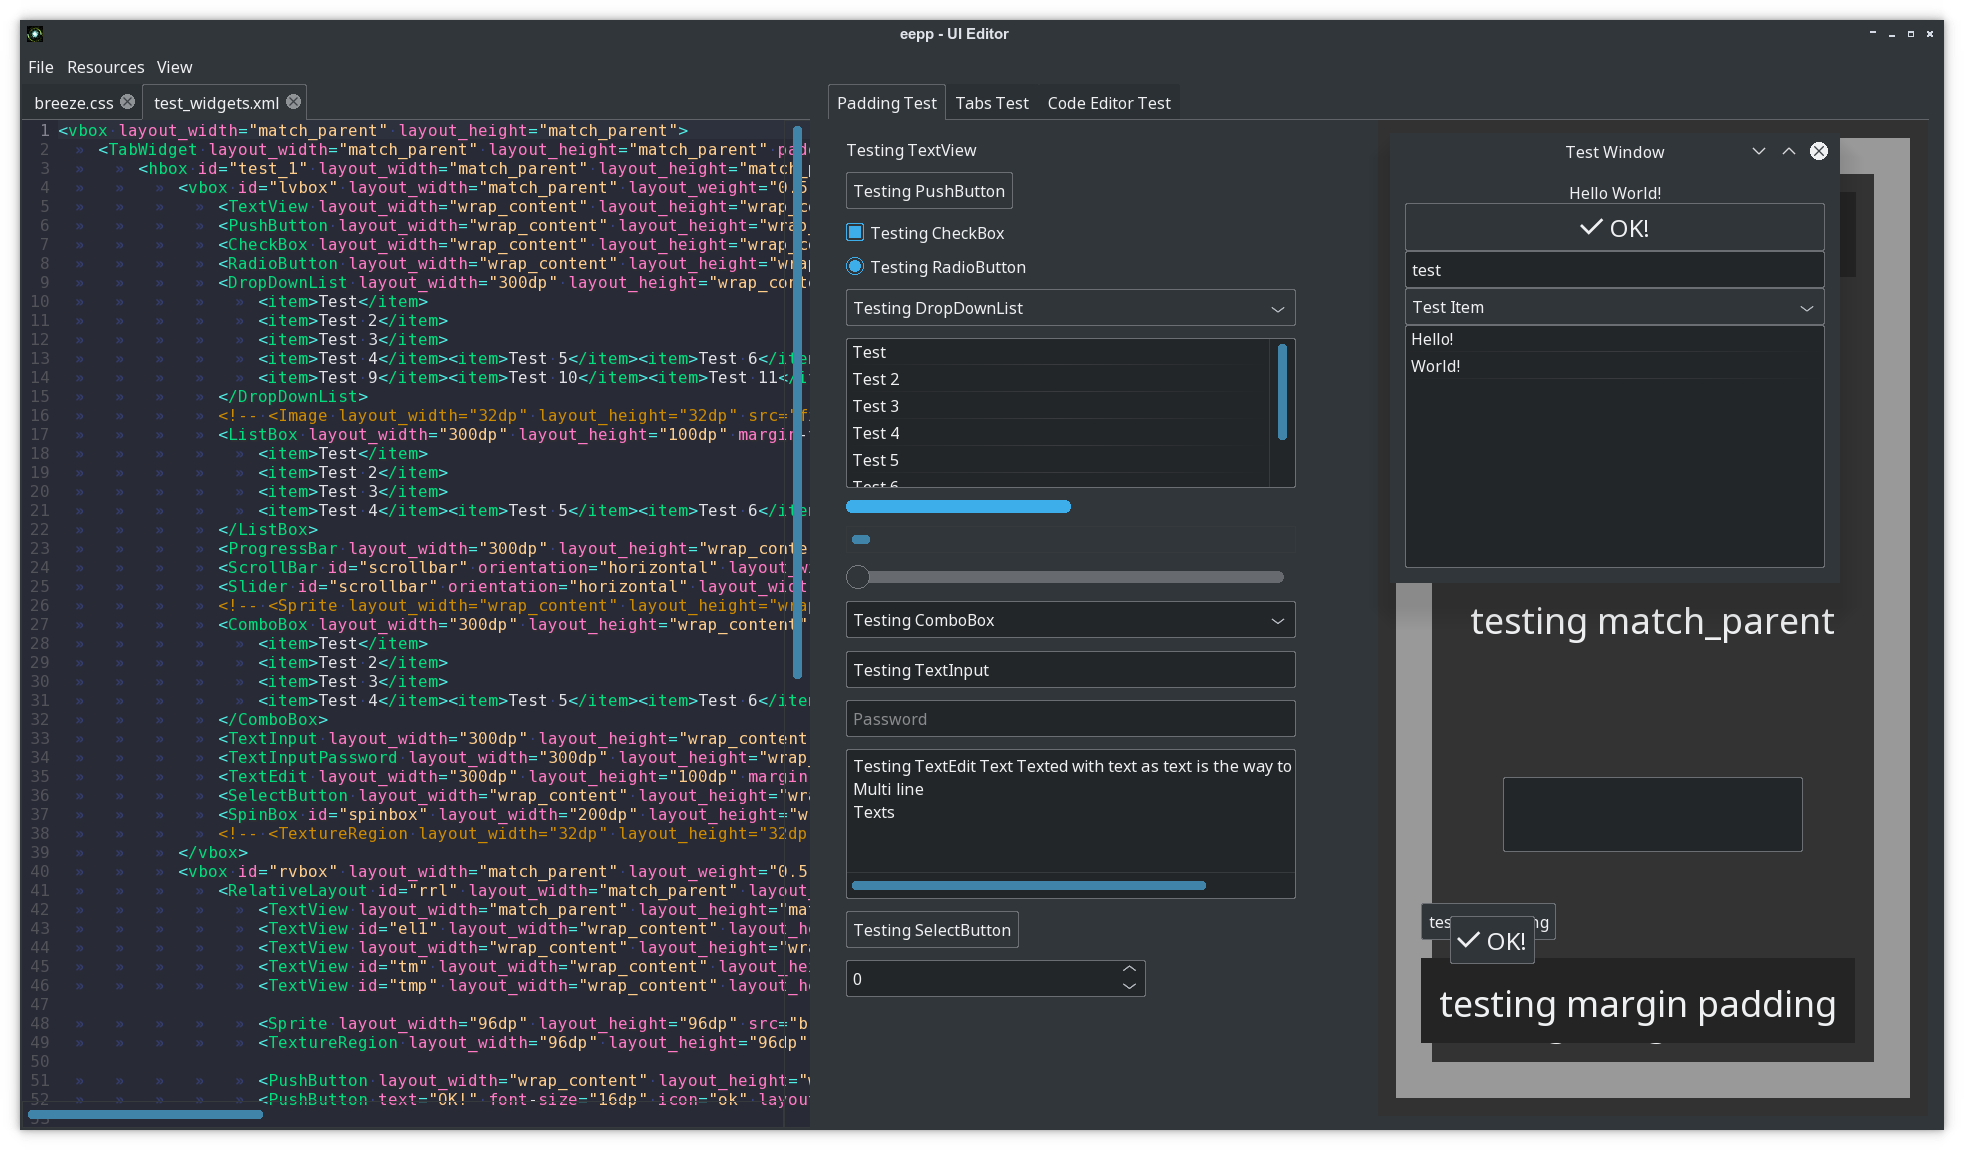
UI Editor
Editor that displays in real-time the changes on any layout and CSS to help speed up the development of user interfaces. In the screenshot is displaying some of the default widgets available in eepp.
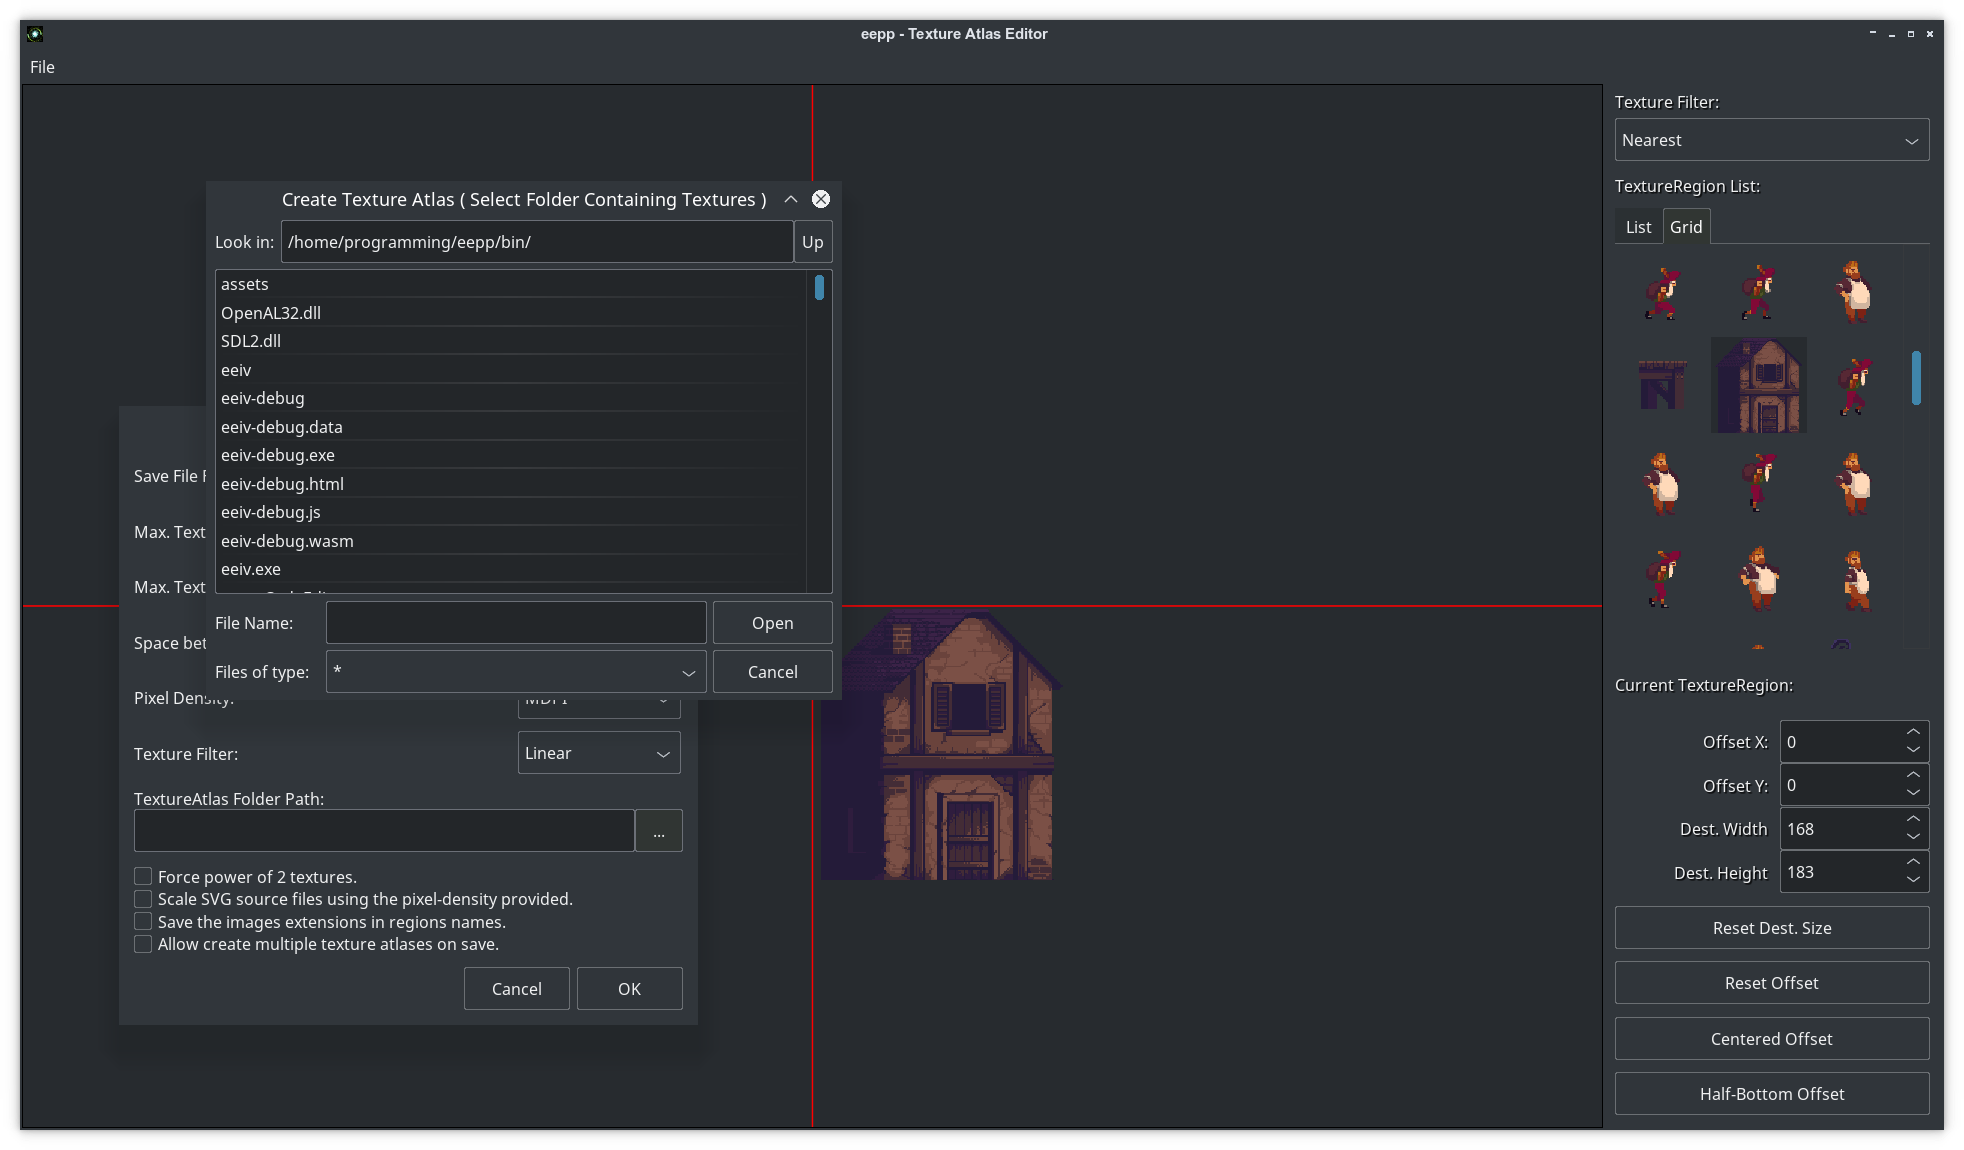
Texture Atlas Editor
Small tool, used to create and edit texture atlases.
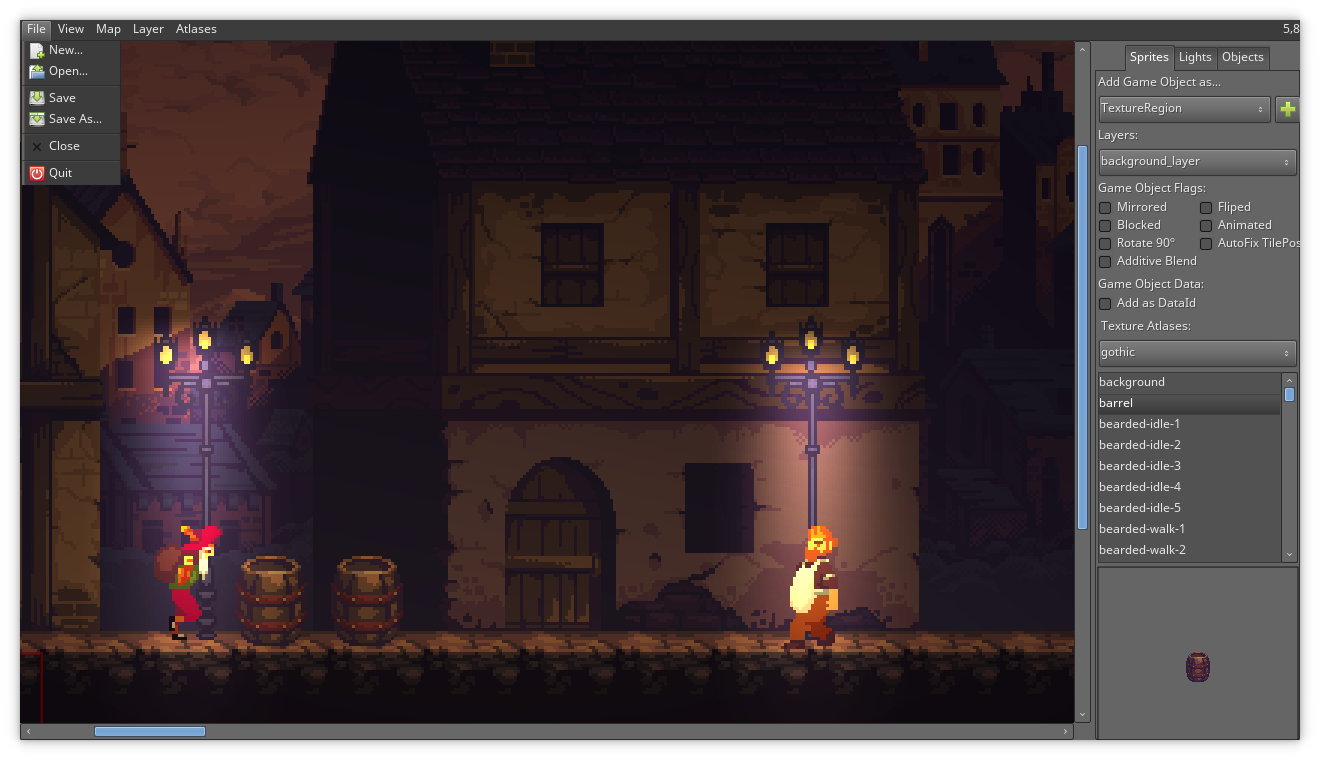
Map Editor
2D map editor using the default skinned theme (using a single texture atlas with 9-patch images).
UI Layout XML example
It should look really familiar to any Android developer. This is a window with the most basic widgets in a vertical linear layout display.
<window layout_width="300dp" layout_height="300dp" window-flags="default|maximize|shadow">
  <LinearLayout id="testlayout" orientation="vertical" layout_width="match_parent" layout_height="match_parent" layout_margin="8dp">
    <TextView text="Hello World!" gravity="center" layout_gravity="center_horizontal" layout_width="match_parent" layout_height="wrap_content" backgroundColor="black" />
    <PushButton text="OK!" textSize="16dp" icon="ok" gravity="center" layout_gravity="center_horizontal" layout_width="match_parent" layout_height="wrap_content" />
    <Image src="thecircle" layout_width="match_parent" layout_height="32dp" flags="clip" />
    <Sprite src="gn" />
    <TextInput text="test" layout_width="match_parent" layout_height="wrap_content" />
    <DropDownList layout_width="match_parent" layout_height="wrap_content" selectedIndex="0">
      <item>Test Item</item>
      <item>@string/test_item</item>
    </DropDownList>
    <ListBox layout_width="match_parent" layout_height="match_parent" layout_weight="1">
      <item>Hello!</item>
      <item>World!</item>
    </ListBox>
  </LinearLayout>
</window>
UI introduction can be found here.
UI Widgets with C++ example
How does it look with real code?
UITextView::New()->setText( "Text  on  test  1" )
         ->setCharacterSize( 12 )
         ->setLayoutMargin( Rect( 10, 10, 10, 10 ) )
         ->setLayoutSizePolicy( SizePolicy::MatchParent, SizePolicy::WrapContent )
         ->setParent( layout );
UI Styling
Element styling can be done with a custom implementation of Cascading Style Sheets, most common CSS2 rules are available, plus several CSS3 rules (some examples: animations, transitions, custom properties, media queries, @font-face at rule, :root element). Here is a small example on how the CSS looks like:
@font-face {
  font-family: "OpenSans Regular";
  src: url("https://raw.githubusercontent.com/SpartanJ/eepp/develop/bin/assets/fonts/OpenSans-Regular.ttf");
}

@import url("assets/layouts/imported.css") screen and (min-width: 800px);

:root {
  --font-color: black;
  --background-input-color: rgba(255, 255, 255, 0.7);
  --border-color: black;
  --border-width: 1dp;
}

.screen TextView {
  color: var(--font-color);
}

.form {
  background-image: @drawable/back;
  background-repeat: no-repeat;
  background-size: cover;
}

.form .form_inputs {
  background-color: var(--non-existent, var(--background-input-color));
  margin-left: 100dp;
  margin-right: 100dp;
  padding-top: 72dp;
  padding-left: 57dp;
  padding-right: 57dp;
  padding-bottom: 115dp;
}

.screen TextView.input,
.screen TextInput.input {
  font-family: AkzidenzGroteskBQ-Cnd;
  layout-width: match_parent;
  layout-height: 80dp;
  border-color: var(--border-color);
  border-width: var(--border-width);
  color: var(--font-color);
  padding-left: 40dp;
  padding-right: 40dp;
  margin-bottom: 32dp;
  skin: none;
  hint-font-family: AkzidenzGroteskBQ-Cnd;
  hint-font-size: 46dp;
  hint-color: #818285;
  background-color: #FFFFFF00;
  transition: all 0.125s;
}

.screen TextInput.input:focus {
  background-color: #FFFFFF66;
  border-color: #796500;
}

.screen TextInput.input:hover {
  background-color: #FFFFFF66;
}

@media screen and (max-width: 1024px) {

.form .form_inputs {
  background-color: red;
}

}
The complete CSS specification can be found in the docs: here.
You can also check how a pure CSS theme looks like in eepp: here.
Live demos (using emscripten)
Since eepp supports emscripten you can take a quick look on some of the examples, demos and tools that the library currently provides. Please be aware that you’ll find some differences based on the limitations that emscripten have at the moment (no access to the file system, no custom cursors, etc) and also demos are not optimized for size and they’re bigger than they should be. Note: Please use a modern browser with good WebGL and WASM support (Chrome/ium 70+ or Firefox 80+).
7GUIs Examples
7GUIs is known as a “GUI Programming Benchmark” that it’s used to compare different GUI libraries and explore each library approach to GUI programming. All the 7 tasks proposed in 7GUIs has been implemented for eepp. The tasks are very good representative of what can be achieved with eepp GUI and also are very useful to demonstrate how to implement different tasks with the library.
The 7GUIs are composed by the following tasks:
Counter : Demo and code implementation.
Flight Booker : Demo and code implementation.
Timer : Demo and code implementation.
CRUD : Demo and code implementation.
Circle Drawer : Demo and code implementation.
Cells : Demo and code implementation.
How to build it
The library has only one external dependency. You will only need SDL2 library with the headers installed. Also premake5 or premake4 is needed to generate the Makefiles or project files to build the library. I will assume that you know what you are doing and skip the basics.
Notice: eepp uses mojoAL by default as an OpenAL drop-in replacement. OpenAL is optionally available as an audio backend. If you want to use it, you have the alternative to enable it. To enable it and disable the mojoAL drop-in replacemente, you need to add the parameter --without-mojoal to any premake call ( ex: premake5 --without-mojoal gmake).
GNU/Linux
In a Ubuntu system it would be something like ( also you will need gcc but it will be installed anyways ):
sudo apt-get install premake5 libsdl2-2.0-0 libsdl2-dev
Clone the repository and run on the repository root directory:
premake5 gmake
or if you have premake4 installed you can run:
premake4 gmake
Then just build the library:
if premake4 was used:
make -C make/linux config=release (config=debug for debug build)
if premake5 was used:
make -C make/linux config=release_x86_64 (debug_x86_64 for debug build, or release_arm64 / debug_arm64 if building from arm64)
That’s it. That will build the whole project.
Windows
You have two options: build with Visual Studio or with MinGW. To be able to build the project with any of these options first you will need to generate the project files with premake4 or premake5. Then you will need to add the binary file to any of the executable paths defined in PATH ( or add one, or use it from a local path ). Download Visual Studio or MinGW files depending on your needs.
Visual Studio
You will need to use premake5 and run:
premake5.exe --windows-vc-build vs2022
Then the project files should be found in make/windows/. A complete solution and all the project will be available. Having installed everything, you’ll be able to build the Visual Studio solution as any other project.
Using the command line argument --windows-vc-build will download the SDL2 dependency automatically and add the paths to the build process to link against it without the need to download manually any external dependency.
Then just build the solution in Visual Studio or run MSBuild manually in a console:
"%MSBUILD_PATH%\MSBuild.exe" .\make\windows\eepp.sln -m
Where MSBUILD_PATH% is the MSBuild.exe Visual Studio path, for example for VS2022 Community Edition the path usually is:
C:\Program Files\Microsoft Visual Studio\2022\Community\MSBuild\Current\Bin\
MinGW
Windows MinGW builds are being produced and tested with w64devkit distribution. MSYS is currently not officially supported given some issues found on the build process (but it’s possible to build with some extra steps).
If you’re using w64devkit you’ll have to download it and extract it, we will assume that it’s extracted at C:\w64devkit.
Execute C:\w64devkit\w64devkit.exe as an administrator (right click -> Run as administrator).
Then go to the eepp cloned repository directory and run:
premake5.exe --windows-mingw-build gmake
--windows-mingw-build will automatically download and link external dependencies (SDL2).
Then just build the project located in make/windows/ with mingw32-make.exe or any equivalent:
mingw32-make.exe -C make\\windows config=release_x86_64
To build a debug build run:
mingw32-make.exe -C make\\windows config=debug_x86_64
And then make sure to copy the SDL2.dll file located at src/thirdparty/SDL2-2.XX.X/x86_64-w64-mingw32/bin/SDL2.dll to bin. If for some reason eepp.dll (or eepp-debug.dll) hasn’t being copied automatically you can copy them from libs/windows/x86_64/ to bin.
macOS
You will need the prebuild binaries and development libraries of SDL2, OpenAL is included with the OS. Install the SDL2 framework and you should be able to build the project.
You have two options to build the project: with XCode or with Makefiles. To build with any of both options first you will also need to build the project files with premake4 or premake5.
Makefiles
Using premake5
Generate the project:
premake5 --use-frameworks gmake
And build it:
make -C make/macosx config=release_x86_64 (or config=debug_x86_64 for a debug build, or release_arm64 / debug_arm64 if building from arm64)
Using premake4
You can use the projects/osx/make.sh script, that generates the Makefiles and builds the project.
XCode
Run:
premake5 --use-frameworks xcode4
And open the XCode project generated at make/macosx/ or simply build from the command line with:
xcodebuild -project make/macosx/project-name.xcodeproj
Android
There’s a gradle project in projects/android-project/. It will build the library with all the dependencies included. Use the example project as a base for your project. Notice that there’s a eepp.mk project file that builds the library. That file can be used in you projects.
iOS
The project provides two files to build the library and the demos. You can use any of them depending on your needs. The files are located in projects/ios :
gen-xcode4-proj.sh script
This script can be used to generate the xcode projects and solution of all the included projects in eepp (demos, tools, shared lib, static lib, etc). It will also download and build the SDL2 fat static library in order to be able to reference the library to the project. After building the projects sadly you’ll need to make some minor changes to any/all of the projects you wan’t to build or test, since the project generated lacks some minor configurations. After you run this script you’ll need to open the solution located in make/ios/eepp.xcworkspace. To build the static libraries you’ll not find any problem (that will work out of the box). But to test some of the examples it’s required to:
Add the Info.plist file
Select (click on the project name) the project you want to test, for example eepp-empty-window. You will se several tabs/options, go to Build Settings, and locate the option Info.plist file, double click to edit and write: Info.plist. This will indicate to read that file that is located in the same directory than the project. The go to the tab General and complete the Bundle Identifier with an identifier name of the app bundle that will be generated, for this example you can use something like: eepp-empty-window. That will allow you to build and run the project.
Add resources to the project
This eepp-empty-window demo does not use any assets/resources, but other demos will need to load assets, and this assets need to be added to the project in order to be available to the app bundle. For example, the project eepp-ui-hello-world, will require you to add the assets folder into the project. What you need to do is: select the project and go to the Build Phases tab, in Copy Bundles Resources click in the plus icon (+), then go to Add Other… and locate and select the bin/assets/ folder and Finish. That should be enough.
compile-all.sh script
This script can be used to build the SDL2 and eepp as two fat static libraries with arm64 and x86_64 architectures in it (arm64 for iPhone/iPad and x86_64 for the simulators). To generate a release build pass config=release_arm64 as a parameter for the script (sh compile-all.sh config=release_arm64). The built files will be located in libs/ios/, as libSDL2.a and libeepp.a (or libeepp-debug.a for debug build). This two files can be integrated in your project.
emscripten
You will first need to download and install emscripten. Then there’s a script for building the emscripten project in projects/emscripten/make.sh. Before running this script remember to set the emsdk environment, it should be something like: source /path/to/emsdk/emsdk_env.sh. That should be enough in GNU/Linux or macOS ( only tested this on GNU/Linux ).
How to run the demos and tools?
All the binaries are located at the bin directory after built. The binaries require two files: the eepp library and the SDL2 library. The eepp library will be located in libs/{OS}/. The build script will try to symlink the eepp library into bin, if that fails it should be copied or symlinked manually. Regarding the SDL2 library is not provided in the repository, so in order to run the demos you’ll need to download the correct SDL2 library OS version and architecture.
Acknowledgements
Special thanks to
Sean Barrett for stb_image and all the stb libraries.
Sam Latinga for Simple DirectMedia Layer.
Jonathan Dummer for the Simple OpenGL Image Library.
Laurent Gomila for SFML
Yuri Kobets for litehtml
Michael R. P. Ragazzon for RmlUI
rxi for lite
Andreas Kling for SerenityOS
Ryan C. Gordon for mojoAL
David Reid for dr_libs
Lion (Lieff) for minimp3 and more
Lewis Van Winkle for PlusCallback
Dieter Baron and Thomas Klausner for libzip
Jean-loup Gailly and Mark Adler for zlib
Milan Ikits and Marcelo Magallon for GLEW
Mikko Mononen for nanosvg
Scott Lembcke for Chipmunk2D
Christophe Riccio for glm
Rich Geldreich for imageresampler and jpeg-compressor
Arseny Kapoulkine for pugixml
Jason Perkins for premake
Martín Lucas Golini ( me ) and all the several contributors for SOIL2 and efsw
kcat for openal-soft
The FreeType Project
And a lot more people!